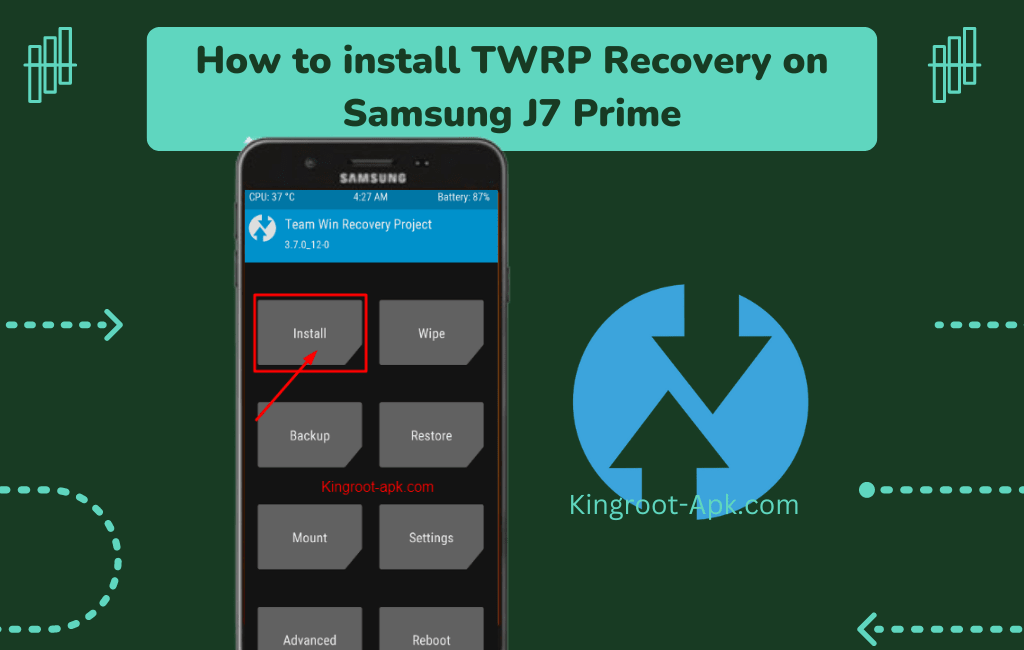
Install TWRP Recovery on Samsung Galaxy J7 Prime: (Easy Method)
Do you still own a Samsung Galaxy J7 Prime and are unhappy with its poor performance, short battery life, limited internal storage, and outdated model? Don’t worry, the most effective way to improve its performance is through custom recovery. Let us now discuss custom recovery.
What is custom recovery? A custom recovery on an Android device is a customized soft environment that replaces the stock recovery system. TWRP and CWM are the two most commonly used. If you are interested, we recommend you that install TWRP because it provides a better GUI based on a touch screen than others.
In this blog post, we’ll walk you through the entire process that will help you to install TWRP recovery on Samsung J7 Prime.
What is TWRP Recovery?
TWRP Recovery is the most popular recovery image for flashing third-party firmware, mods, custom kernels, and nandroid backups such as Xposed. It features a touchscreen interface that allows users to backup their entire Android system. Users can install custom ROMs (custom versions of the Android operating system), perform a full system advanced backup, and wipe the cache, dalvik, and system partitions.
Team Win Recovery Project is compatible with a wide variety of Android devices. Its primary application is to root smartphones and tablets. Every Android device has a default recovery mode for performing system updates and factory resets. While TWRP provides advanced system modifications in the way of a manufacturer.
Advantages of Installing TWRP Recovery:
- One of the best benefit of Installing TWRP on Android device is that you can create full backup your data.
- You can easily install ROMs, custom kernels, and customizations.
- Bloatware can be uninstalled, block unwanted ads.
- You can update the software on your Samsung J7 Prime to the latest version or receive OTA updates.
- It greatly simplifies system file management, permission changes, cache cleanup, and data deletion.
- It allows you to install custom zip files containing themes and tweaks that require root or recovery access.
- Don’t require computer if you want to root and unroot your phone.
- It enables you to configure CPU/GPU overclocking, which improves your smartphone’s overall performance.
Disadvantages of installing TWRP:
- TWRP installation can be a dangerous technique that can harm your phone if done incorrectly.
- Banking applications may not function properly.
7 Steps to Install TWRP Recovery on Samsung J7 Prime:
This section will walk you through the seven simple steps that required to install TWRP. So, you will be able to fully utilize the hidden capabilities of your Samsung Galaxy J7 Prime. The procedure is simple if you follow this advice. If your smartphone isn’t up to the task, keep in minds before starting:
Preparations to install TWRP:
- Make a complete backup of everything such as contacts, images, videos etc.
- Remove the Samsung account, device password or pin.
- Check that your phone is at least 50% charged.
- A laptop or computer as well as a genuine USB cable are required.
- Read and follow carefully.
Step#1: Unlock Samsung J7 Prime Bootloader
The first step is to unlock bootloader of your Samsung. The bootloader is a piece of software that loads the device system software before your phone boots up. Unlocking the bootloader allows you to install custom recovery or other third party soft on your device. If the bootloader is not locked, TWRP cannot be installed. Simply follow the steps carefully to unlock the bootloader.
Enable Developer Mode:
- First of all, go to the settings of your samsung galaxy j7 prime and then scroll to bottom find “about phone” option and open.
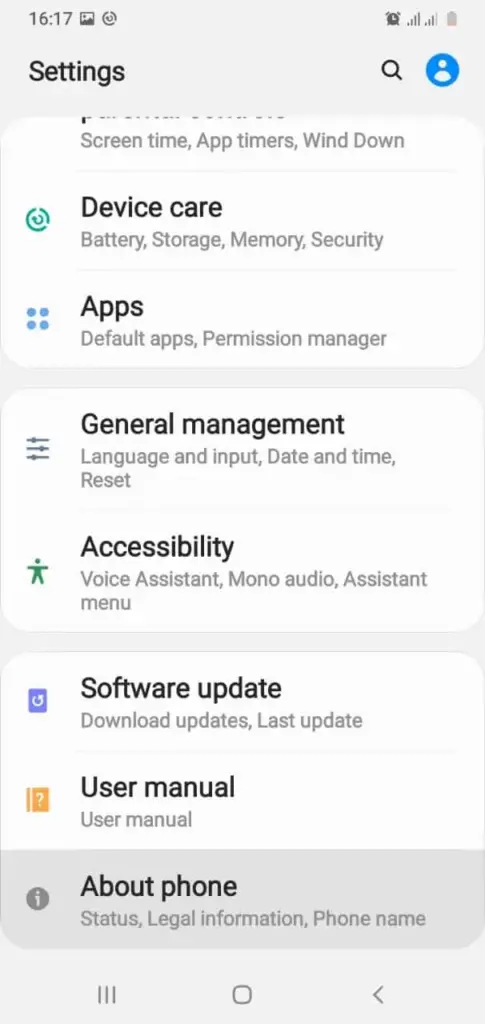
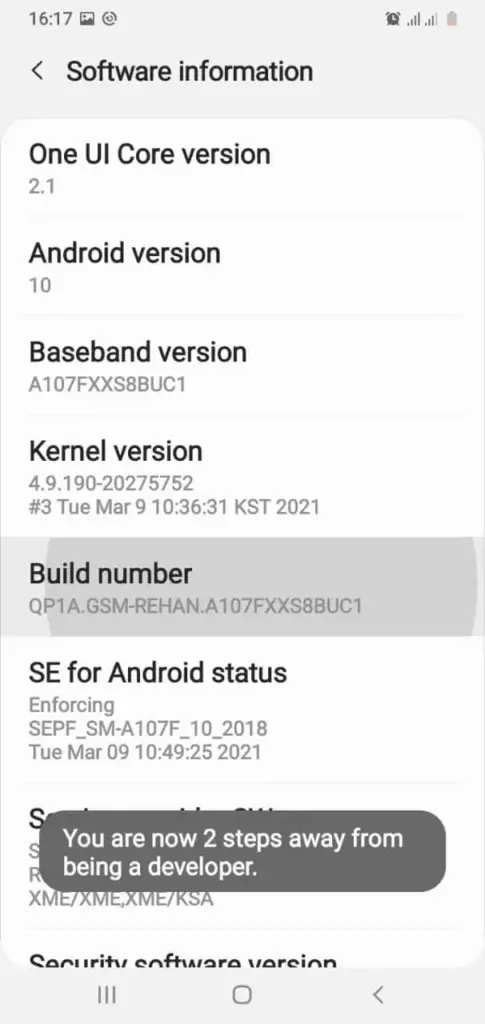
- After that and select “software information“ for to view build number.
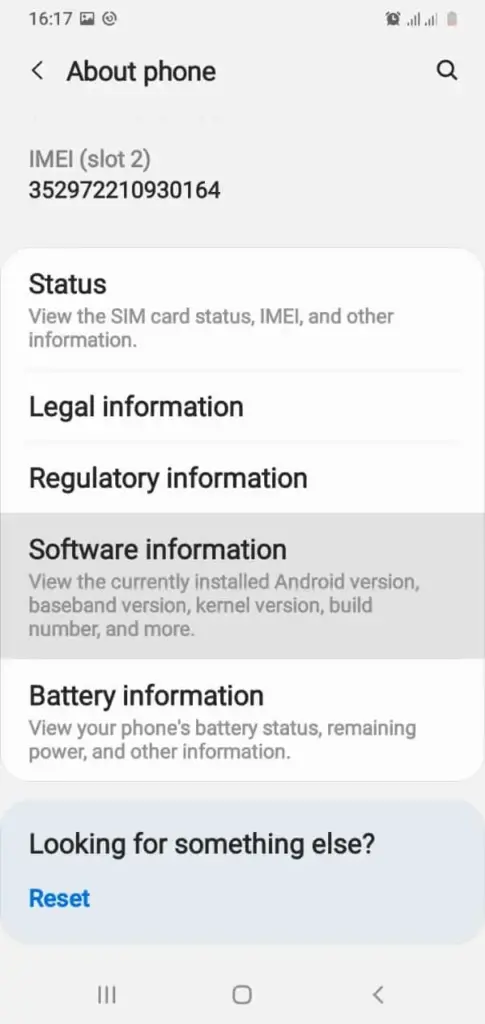
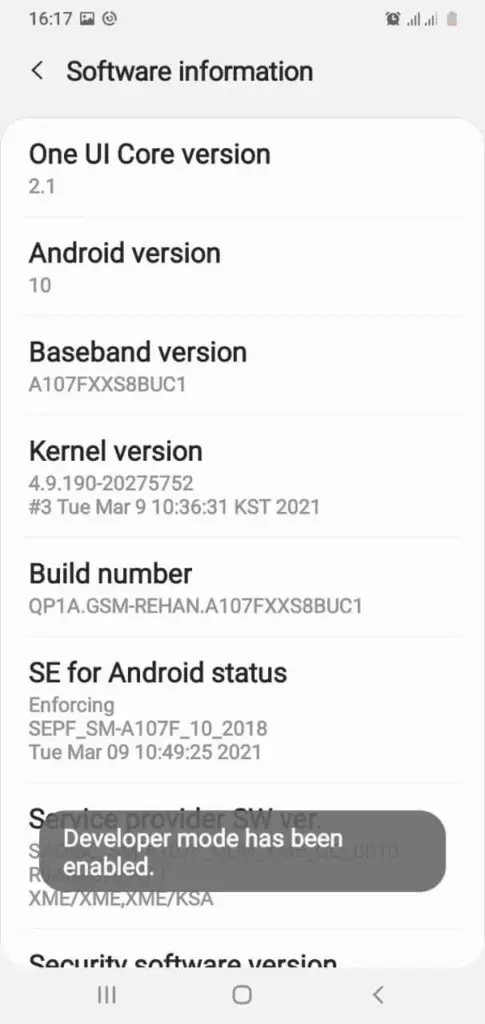
- Then tap “build number” for about seven times simultaneously until the developer mode is enable.
- You will see “developer mode” has been enabled. Make sure in this way you have enabled the developer mode.
Enable OEM Unlocking, USB Debugging Option:
- In developer options, scroll down and enable “OEM unlocking” option. Here you see bootloader already unlocked.

- After that scroll to bottom and click on “USB debugging” option. Then click ok to enable.

Note: Make sure that both option is enabled, it’s important if you want to install TWRP. If you confuse about these steps you can contact us.
Two Steps To Unlock Bootloader Of Samsung:
This is necessary step, as it allows you to modify system level that your are able to customize your smartphone software. In this section, we’re going to provide basic steps to ensure that your Galaxy J7 Prime bootloader has unlocked or not.
- In this step, turn off your phone and connect it to a computer using a data cable. Then, keep pressing the “Power button + (Volume Up + Volume Down)” keys at the same time until you see the “Warning” screen.
- To unlock the bootloader, press and hold the “Volume Up” button for a duration longer than seven seconds. Use the volume buttons to navigate to “Yes” when asked if you want to unlock the bootloader, and then press the power button to confirm.
Step#2: Download Necessary Files
n this step, we’re going to download the TWRP file or Odin program.
- Download the latest version of Odin, which is a tool used for flashing firmware and custom recoveries on Samsung devices.
- TWRP recovery file needed to download you can visit official site. Remember that you need to search correct model to download “.image.tor” file.
Download Here: Samsung Galaxy J7 Prime
Note: Once TWRP file download, then move it to your computer.
Step#3: Installing Odin on your computer
- Run the downloaded file after extracting the Odin ZIP file. Follow on screen instructions to install simply.
Step#4: Boot into download mode
Moving into download mode is necessary because firmware must be flashed. It allows your smartphone for connect to computer Simply follow these steps to successfully boot your device into download mode.
- First of all, turn off your Samsung J7 Prime. Once your phone goes to switch off mode then press on (bixby + volume down + power) buttons at the same time and hold all these three until you will not see warning screen.

- Now to continue you have to press “volume up” button once and again press yes. You see the downloading screen appeared which we need.
Step#5: Connect your phone to computer
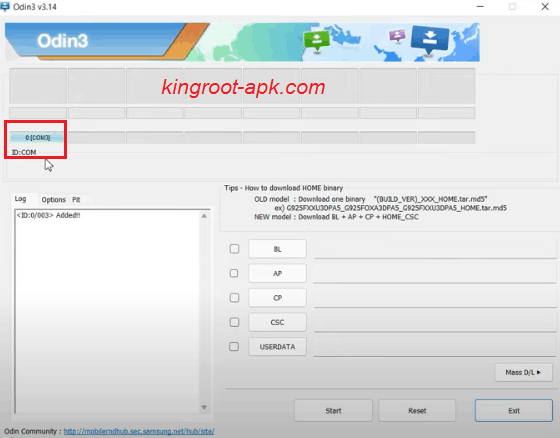
- Connect your Samsung to your computer using a USB cable. Remember that use only original cable to ensure a smooth procedure.
- Open Odin program on your Pc. Make sure that your phone is connected. Once it connected, you see this COM as shown in image. It means that your phone has been detected.
Step#6: Flash TWRP using Odin
In this step, make sure that your phone has connected to computer or detected to odin.
- In odin program, you see all slots such as “BL, AP, CP, CSC, UserData“. You need to click on “AP” to choose TWRP tar file that you have just downloaded or move into you computer. Tap to open, it might take some time or depending on how heavy that file.
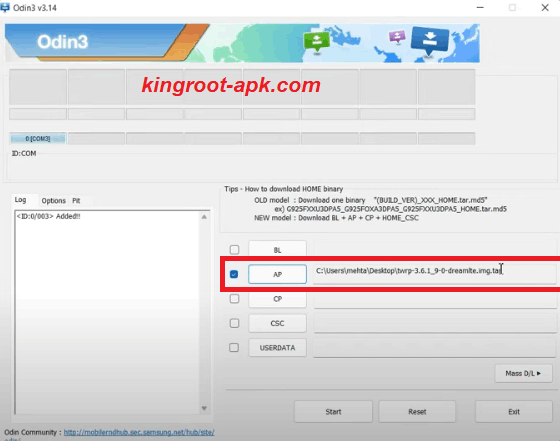
- Make sure you have disable Auto Reboot in option as shown in picture. If not then uncheck the “Auto Reboot” button.
- Click on “Start” button. It will take some time to complete.

- Once complete, you will see pass as shown in image. It means that the recovery has been successfully flashed.

Step7: Boot into TWRP Mode
Now, we need to boot Samsung Galaxy J7 Prime into TWRP recovery mode. After flashing TWRP, immediately boot into TWRP recovery mode to avoid the stock recovery overwriting it during the first boot. But firstly get out from download mode.
- Press Volume Down key and power button for 7 seconds.
- During this moment’s your Samsung is about to boot up. So, you can start the combination of recovery by pressing (Bixby+Volum Up+Power) button quickly and holding these combinations until recovery page not open. If you fail to boot it on time then you phone will boot up. You can try again right after switch off your device.


How to Root Samsung Galaxy J7 Prime?
TWRP recovery allows you to install root on your Samsung and gain more administrative access to the operating system of your smartphone. Rooting your device allows you to install new apps, modify system files, and bypass manufacturer restrictions. We recommend reading our guide on how to root an Android phone if you want to root your smartphone. It will give you a comprehensive understanding of roots.
Read this: How to Root Samsung Galaxy J7 Prime
Final Words:
Following the instructions above, I hope you were able to install TWRP on your Samsung Galaxy j7 prime. As you know that we went over each step of the procedure, including preparation, bootloader unlocking, downloading the Odin or TWRP file, booting into download mode, and installing TWRP.
If you have any further questions about this tutorial, please contact us. We will respond as soon as possible.