A custom ROM, which stands for “custom Read-Only Memory,” is a modified version of the operating system software installed on your Android device. Unlike the stock ROM provided by the device manufacturer (such as Samsung, Google, or OnePlus), custom ROMs are created and maintained by third-party developers or communities. These ROMs are based on the Android Open Source Project (AOSP) core, therefore they have unique features, optimizations, and customization options that are not available in stock firmware.
Table of Contents
What is Custom ROM?
A custom ROM, which stands for “custom Read-Only Memory,” is a modified version of the operating system software installed on your Android device. Unlike the stock ROM provided by the device manufacturer (such as Samsung, Google, or OnePlus), custom ROMs are created and maintained by third-party developers or communities. These ROMs are based on the Android Open Source Project (AOSP) core, therefore they have unique features, optimizations, and customization options that are not available in stock firmware.
It give users additional power and customization possibilities. To install a custom ROM, first unlock the device’s bootloader, then install a custom recovery tool (such as TWRP or ClockworkMod), and finally flash the custom ROM onto the device. While installing a custom ROM may void your device’s warranty and involve certain risks if done incorrectly, many users believe the benefits of personalization and optimization are worth the effort. Overall, it allow users to customize their Android smartphones beyond what is available with stock firmware.
Steps to install Custom ROM on Samsung Galaxy S8 and S8 Plus?
Custom ROMs enable users to modify their Android experience to their preferences by providing features such as improved performance, extend battery life, access to the most recent Android versions, and the removal of bloatware (unneeded pre-installed apps). Furthermore, custom ROMs are typically updated faster than stock firmware, users have access to the most recent security patches and functionality.
Setting Up Your Galaxy S8/S8+ for Custom ROM Installation
Before you begin the installation process, it’s essential to prepare your device properly.
- The first step to unlock bootloader of your device. If you don’t know how to unlock bootloader then read article.
READ ARTICLE: How to unlock bootloader
- Install custom recovery to flash a flashable zip file. There are many option but we recommend TWRP Recovery. You can download from here.
HERE: TWRP App
- Before flashing a custom ROM, make sure to back up your data to avoid losing anything during the installation.
- Charge your device before doing this process. (50% recommended)
Downloading a Custom ROM:
In this setup, we download the right custom ROM. There are multiple files available with its features and improvements. So, you can get all latest ROMs from below links.
How to Install Custom ROM on Galaxy S8/S8+: Two Ways
There are usually two methods for installing custom ROMs on your galaxy s8 and s8 plus. Both are simple and straightforward. So you can choose any of them based on your specific needs and preferences.
1. Using Custom Recovery (TWRP Recovery):
TWRP Recovery is a widely used custom recovery tool for Android smartphones. It offers users a graphical interface for doing complicated tasks such as flashing custom ROMs, creating full system backups (also known as NANDroid backups), restoring backups, erasing device partitions, and applying system updates. You need to download TWRP recovery. If you want to install TWRP on Samsung Galaxy S8/S8+ then read article.
READ: Install TWRP on Samsung Galaxy S8/S8 Plus
- Turn off your phone.
- Then press the Volume Up and Power buttons simultaneously to reboot into recovery mode.
- When you see the “Warning” screen, release the buttons and hit the Volume Up button once.
- After that select “Wipe” to clear the Dalvik Cache, Cache, System, Vendor, and Data.
- Once the wiping is complete, click to install the custom ROM ZIP file.
- After the flashing is finished, reboot your phone to the system.
By following above points you have installed custom ROM successfully on your Galaxy S8 and S8 plus.
2. Using ADB Sideload:
Installing a custom ROM using ADB sideload allows users to flash a custom ROM onto their Android smartphone using the Android Debug Bridge (ADB) tool. This method is especially helpful when traditional methods, such as flashing from recovery mode, are not possible or the device’s bootloader has already been unlocked.
Before beginning the procedure, ensure that your smartphone’s Developer Options and USB Debugging are enabled. You must have Android SDK Platform tools installed on your laptop or computer.
- First of all connect your galaxy s8/s8+ onto your computer or laptop via USB cable.
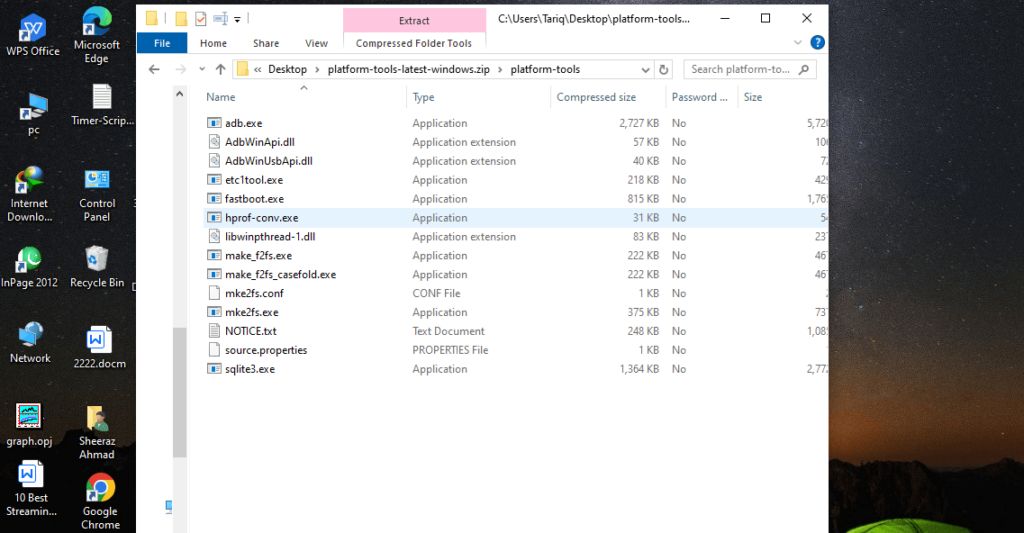
- Open the Android SDK Platform Tools folder after you’ve extracted it.
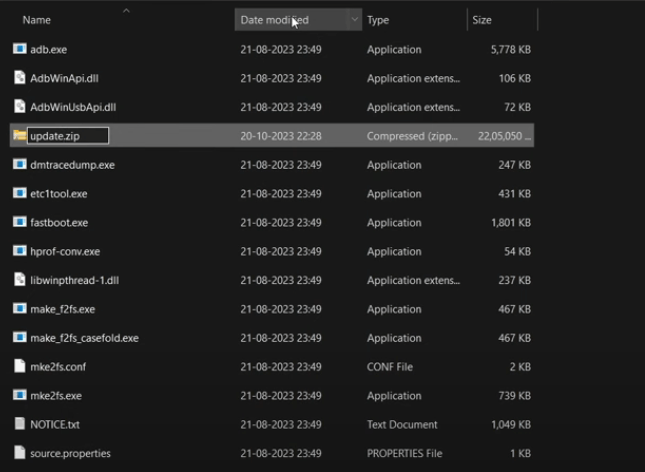
- Make sure that you have downloaded firmware, move it to your PC’s platform-tools folder and rename the file to update such that its full name is update.zip.
- Connect the device to the PC using a USB cord. Make sure USB Debugging is enabled.
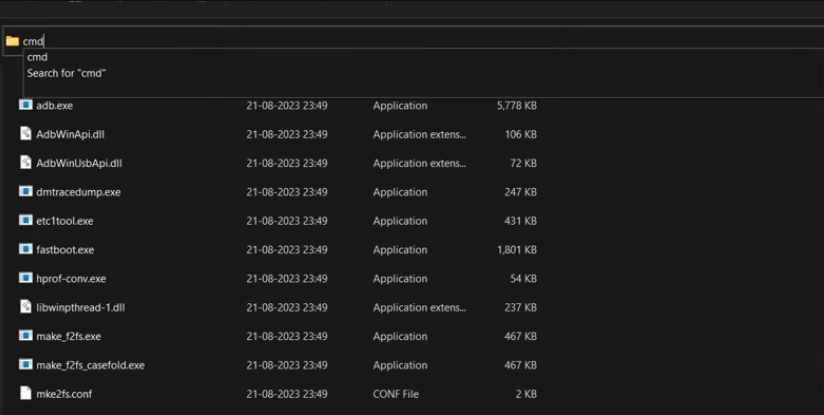
Then navigate to the platform-tools folder, put CMD into the address bar, and press Enter. This will open the Command Prompt.
- After that, execute the following command in the CMD window to boot your device into the stock recovery. (adb sideload <path_to_rom_zip_file>)
- Your smartphone will now boot into the No Command screen.
- To escape this screen, press and hold the Power Button while simultaneously pressing and releasing the Volume Up key, and then release the Power key. You will immediately be transported to the stock recovery.
- Use the Volume keys to highlight the “Apply Update from ADB” option, then hit the Power key to confirm.
- Navigate to the folder containing the custom ROM file and run the command “adb sideload [ROM file name].zip”.
- Wait for the installation to finish, then reboot your device.
Now you have installed custom ROM on your Samsung Galaxy S8 and S8+ using ADB sideload. If you want to root on Samsung Galaxy S8 or S8 plus then read this article now.
READ NOW: Root Samsung Galaxy S8 Plus
Final Words:
Installing a custom ROM on your Galaxy S8/S8+ opens up a world of possibilities, including improved performance and unique customization options, extends battery life and so on. By following the instructions explained in this guide, you can install a custom ROM and have complete control of your smartphone. If you have any questions related to custom recovery feel free to ask us.
FAQs:
Q1. How to install LineageOS on Galaxy S8?
- Download the correct LineageOS ROM and GApps, then copy them to an SD card or USB stick that is placed into the device.
- Backup all data (it will be deleted!).
- Unlock the bootloader, delete the Google and Samsung accounts, and factory reset the data.
- Install the TWRP recovery program.
- Boot into TWRP and install the LineageOS ROM and GApps.
Q2. Will installing a custom ROM improve battery life?
Yes, custom ROMs are optimized for battery life and may offer improved efficiency compared to stock firmware.